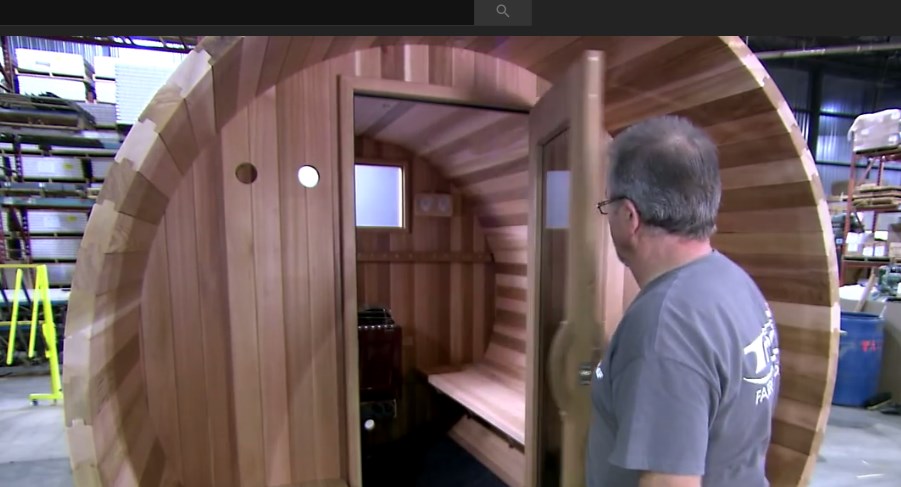
I found a very interesting video on YouTube that was an assembly video for a barrel shaped sauna but I thought it was a very interesting process and decided to break down the steps I found into a blog post.
I like doing this because it is easier to digest instead of watching the entire video but they did a really good job in the video editing process and it was only a four and a half minute long video, not too bad compared to others. Here's what I found...
1. Bases Are Laid Out And First Board Is Screwed To Base...
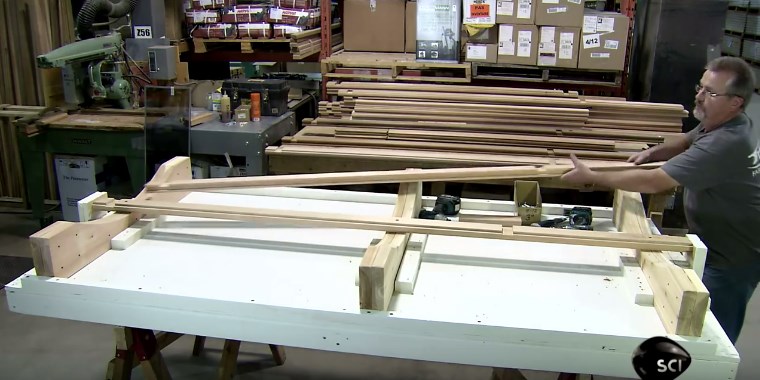
Step 1: The first step of the assembly process for this particular sauna was to install the center board directly in the middle of the three boards that act as the solid base. I did skip the milling process of the actual wood so you can watch the video to see that process if you are interested. The first board has tongues on both sides of it and is why it is used as the starter piece.
2. The Next Board Is Added, A Tight Fit Is Important!
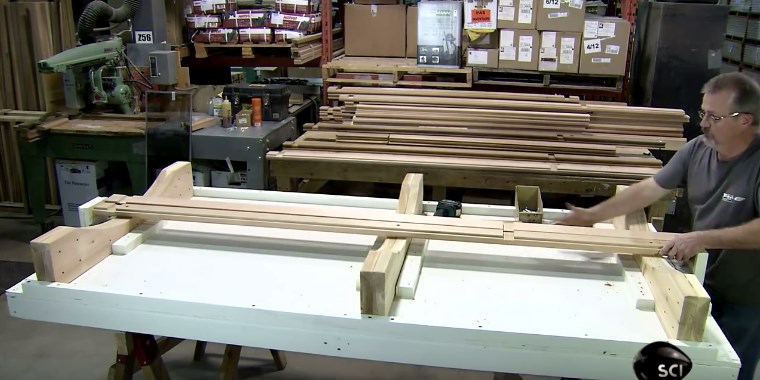
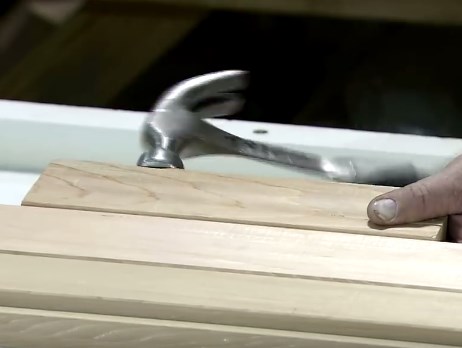
Step 2: The next step is to install the boards on either side of the first starter strip. These will be fitted pretty tightly and often times will require the use of a hammer and a block in order to fit them as tightly as possible.
This is a very important step because you don't want any steam to leak out of the sauna.
3. More Boards Are Added To The Base Of The Sauna...
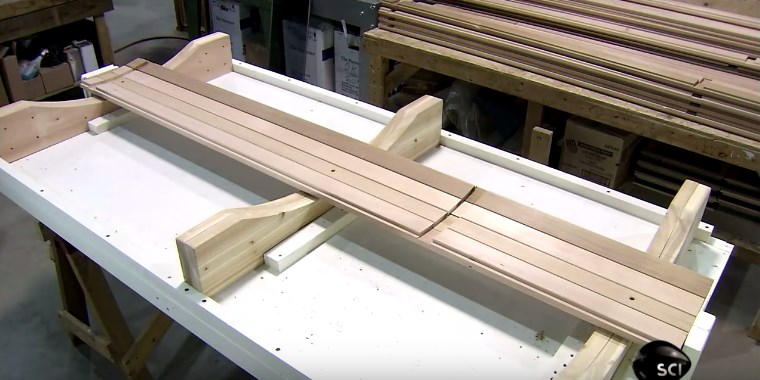
Step 3: Continue adding boards to both sides of your starter strip in order to make a suitable base for the front and rear walls of the sauna which will get installed later on in the process.
Notice how there are slots in these boards which will act as a groove that the front and rear walls of the sauna fit inside of. These help with the placement of the walls and ensure that the walls are tightly fitted with the boards that run along the perimeter of the walls.
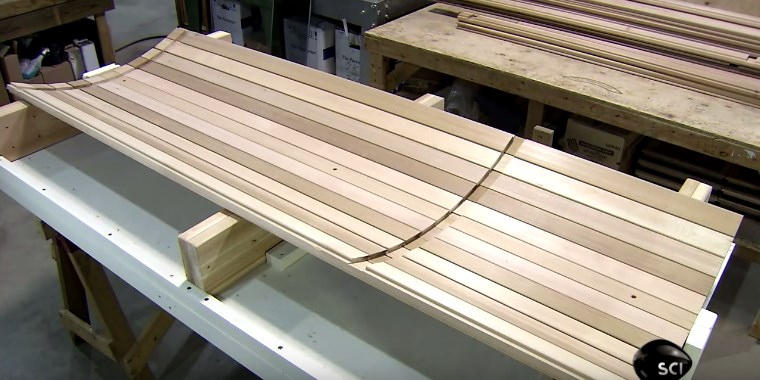
The above picture shows the base completed enough to add the front and rear walls of the sauna. In the next step we will take a look at how these exterior walls are built.
4. The Circular Shaped Ends Are Then Made:
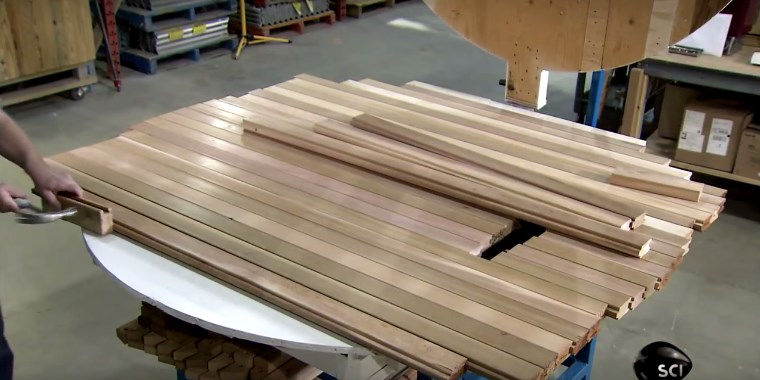
Step 4: Now it's time to make the exterior walls for the sauna. The manufacturer starts out by laying out all the boards and fitting them tightly against each other to form a wall.
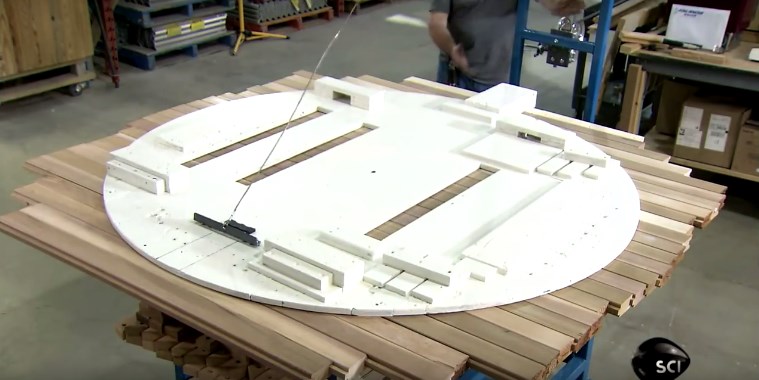
After you have all of your boards tightly fitted together, a template is used that is laid on top to form the shape of the exterior wall that will be cut out in the next step.
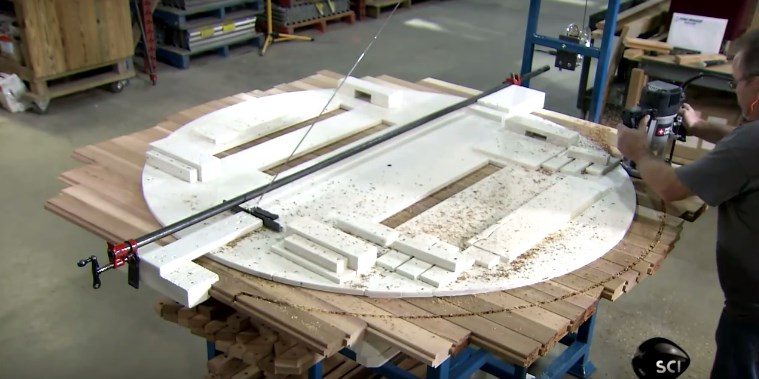
The easiest way to cut out a shape like this would be to use a router like the gentleman is in the photo above. It makes it a lot quicker and a lot easier to make these types of cut using a tool like a router instead of a jigsaw. There is also less room for mistakes using a router since you are running the router along the template itself.
Notice how much room there is between the template and where the router cut. Your template should be a little bit smaller than your overall with that you are going for and should allow for the distance between the router table and where the bit is actually going to cut the material.
5. Windows And Doors Are Then Cut Out Using Another Template
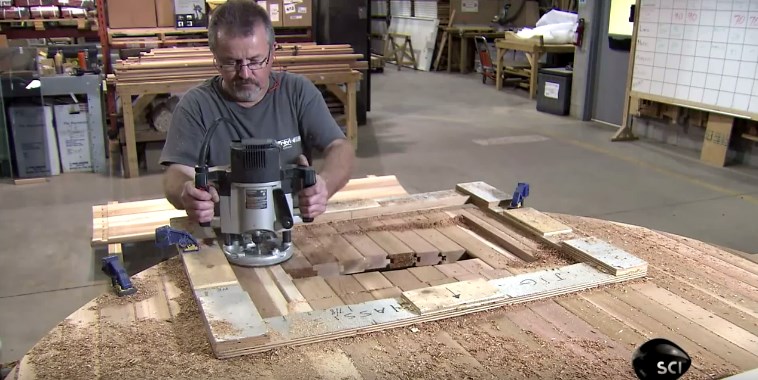
Step 5: After the outside shape for the exterior walls are made, the door and window cutouts are then cut using the same system with a template and a router. Placement of the template on a circular piece will be kind of hard to get level so I would recommend taking your time and having some reference marks to help you.
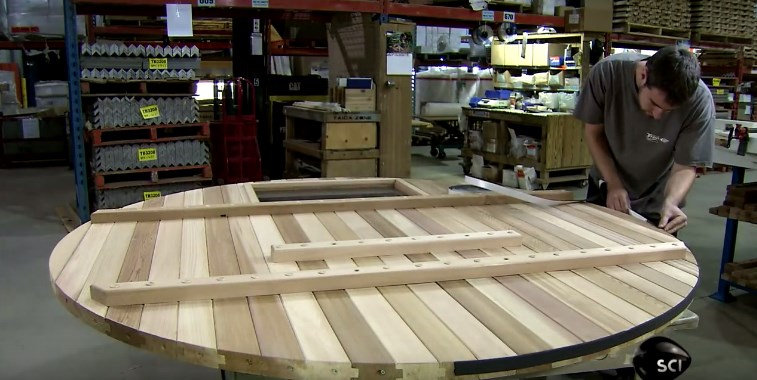
After the window and door is cut out, trim pieces are added around the window and door (if necessary) and horizontal bracing is added for stability and for mounting benches, the sauna heater and so on later on.
6. Walls Are Erected On Top Of Sauna Base:
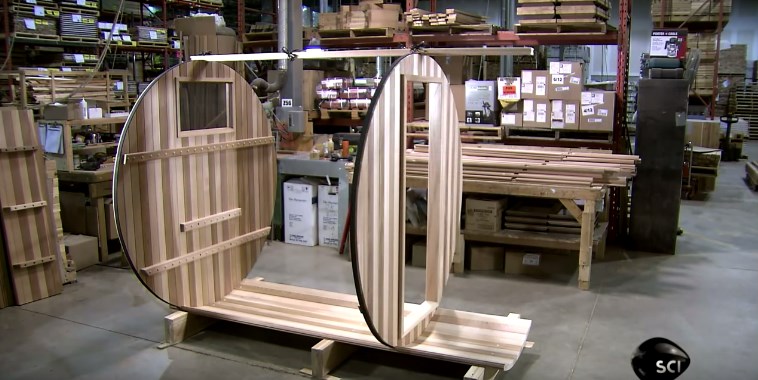
Step 6: The front and rear walls are then stood up aligned with the grooves on the bottom boards that make up the foundation of the barrel sauna. It is also important to note that they did put another center board right on top of these walls just like they did when building the bottom portion of the foundation. I assume this adds stability and helps hold the walls up during the building process.
7. More Boards Are Added To Perimeter Of Walls...
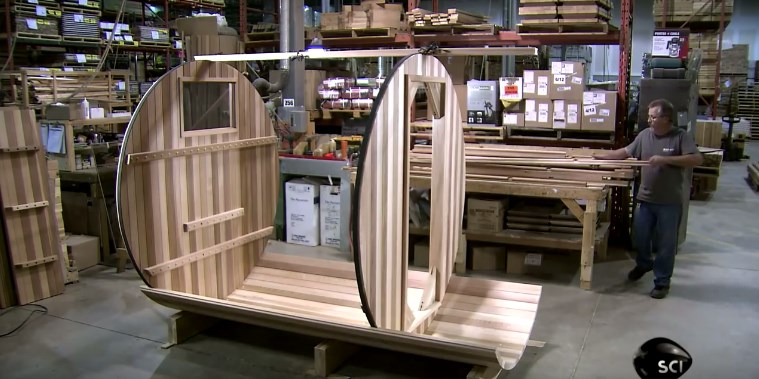
Step 7: The boards are then added to the perimeter of the walls carefully lining up the grooves in the boards with the two exterior walls perimeters. These are fitted tightly using a hammer and a scrap piece of blocking, just like we saw in the very first couple of steps.
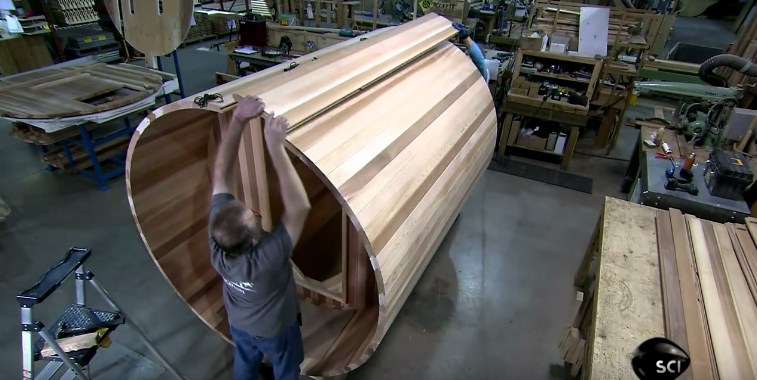
The workers make their way around the entire perimeter of the sauna until they get to the top, where they slide in the last few pieces together, forming a tight seal around the edge of the sauna.
8. Metal Cables Are Added For Strength:
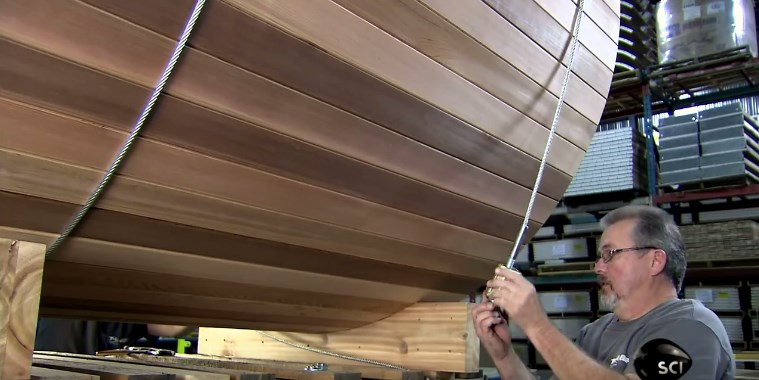
Step 8: Metal straps are then added around the perimeter to ensure that all of the boards fit tightly and never loosen up over time. These are very strong cables that use a nut and bolt to make the tension very tight. There is a certain tightness specification when doing this because if the cables are to loose they won't serve their function and if they're too tight they can actually crack and break the wood.
9. Interior Accessories Are Added
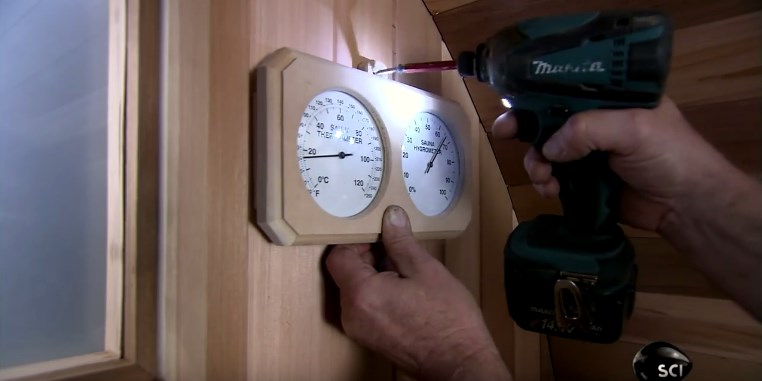
Step 9: All of the interior accessories are then mounted on the walls, like this temperature and humidity gauge. Mats are also installed along the floor and vent covers are also mounted where ever they are necessary.
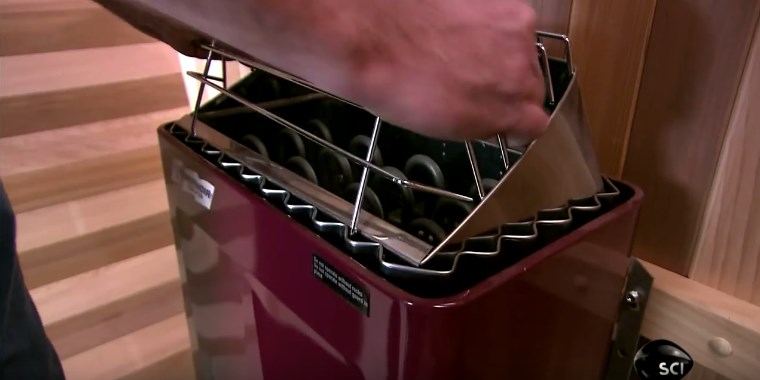
The sauna heater is also included in this step and is usually mounted to a bracket on one of the walls. These can be a little bit hard to mount for some people and it is important to consider a power source if it is an electric heater. The cord will have to be run outside of the wall and properly insulated in order to allow the steam and heat to stay inside of the sauna.
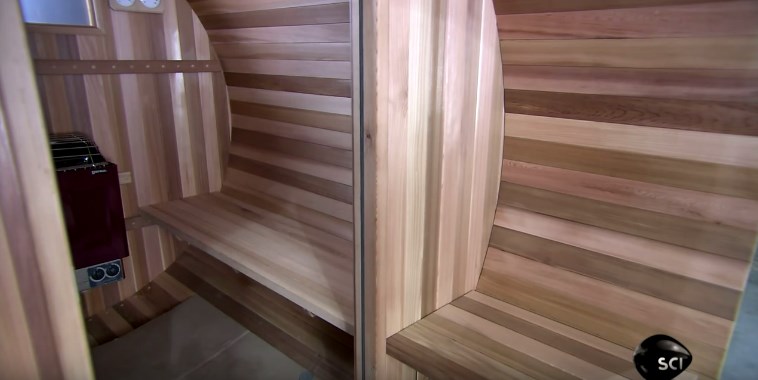
The benches are then installed on the inside to accommodate the users. In this example, they are just simple benches and the walls of the sauna act as the backrest pieces. Some layouts will have fancier seating arrangements but to be honest, you really don't need any of that seeing as how most people only typically spend around 30 to 45 min. max in one of these.
10. Door Is Installed On Panel
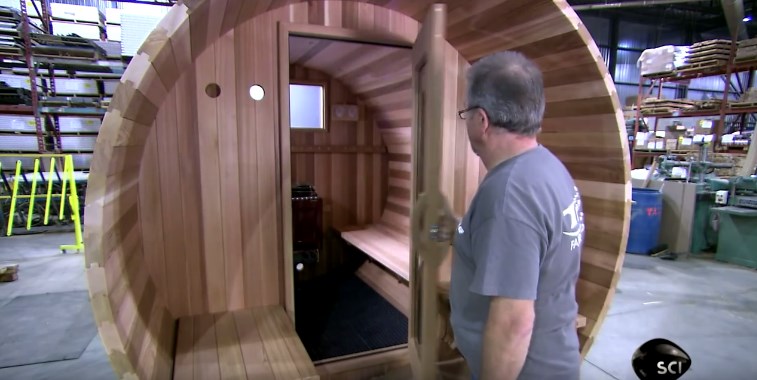
Step 10: The last step is to make sure all of the hardware is installed and works. This would include things like the door, window components, sauna heater components, etc.
That was a very quick tutorial on how a barrel sauna is built! These look like a lot of fun to build and will serve a very important purpose in many people's lives. Hope you enjoyed the post and please leave me a comment below, telling me what you think.
The Full Video On Making This Barrel Sauna:
The video I found on Youtube is shown below and is a very fun process to watch, even though it is built in under 5 minutes and doesn't explain some of the more difficult aspects of the process. Hope you like it!

